
Integrating the Widget into Your Shop
Please note: This article contains references to legal requirements (for example the button wording) for orientation purposes only. It is not legal advice. If you need advice on your individual obligations, we recommend consulting a lawyer.
In all cases the snippet is added only once per page; it can serve multiple buttons or links on the same page.
The base snippet
Every integration uses the same two building blocks:
- A configuration script that defines how the widget behaves.
- The widget script loaded from the CDN.
<script>
    trDataWithdrawal=[];function trWithdrawalButton(){trDataWithdrawal.push(arguments)};
    trWithdrawalButton('config', {
        url: 'https://YOUR-INSTANCE.returns.cloud/withdrawal/YOUR-WIDGET-ID',
        lang: 'en',
        primaryColor: '#448EE4',
        selector: '#tr-withdrawal-button',
    });
</script>

<script src="https://cdn.test.returns.cloud/withdrawal-widget/js/widget.js" async defer></script>
Configuration parameters:
- url: Your widget URL from the Management Portal (required).
- lang: Enforces the modal language for this placement. If omitted, the customer's browser language is used.
- primaryColor: Accent color of the modal as a hex value.
- selector: A CSS selector that identifies the element(s) that should open the withdrawal modal on click. Any CSS selector works, not only IDs.
Option 1: Attach to an existing element
If your shop already has a suitable menu item or link (for example in the footer), simply point the selector to it. No new markup is needed.
<script>
    trDataWithdrawal=[];function trWithdrawalButton(){trDataWithdrawal.push(arguments)};
    trWithdrawalButton('config', {
        selector: '#tr-withdrawal-button',
        url: 'https://YOUR-INSTANCE.returns.cloud/withdrawal/YOUR-WIDGET-ID',
        lang: 'en',
        primaryColor: '#000000',
    });
</script>

<script src="https://cdn.test.returns.cloud/withdrawal-widget/js/widget.js" async defer></script>
Option 2: Add a new element
Same snippet as option 1, but you additionally add the element to your page:
<a id="tr-withdrawal-button" href="#">Withdraw from contract</a>Note on the label: The default and legally recommended wording is "Withdraw from contract" or an equally unambiguous equivalent. See "Setting up a Withdrawal Widget" for the legal notice.
Option 3: Multi-button mode with prefilled data (data attributes)
Ideal for the logged-in customer area, for example an order list where every order gets its own withdrawal action. Add data attributes to each element; the widget reads them on click and prefills the form. Multiple elements on one page are supported with a single snippet.
<ul>
    <li data-fullname="Anna Schmidt" data-email="[email protected]" data-reference="ORD-2026-104582" data-reason="Item does not fit" data-withdrawal-button>Order ORD-2026-104582 from 28 June 2026</li>
    <li data-fullname="Michael Weber" data-email="[email protected]" data-reference="ORD-2026-104617" data-reason="Ordered by mistake" data-withdrawal-button>Order ORD-2026-104617 from 30 June 2026</li>
    <li data-fullname="Laura Becker" data-email="[email protected]" data-reference="ORD-2026-104733" data-withdrawal-button>Order ORD-2026-104733 from 2 July 2026</li>
    <li data-fullname="Daniel Hoffmann" data-email="[email protected]" data-reference="ORD-2026-104809" data-reason="Different product expected" data-withdrawal-button>Order ORD-2026-104809 from 4 July 2026</li>
</ul>

<script>
    trDataWithdrawal=[];function trWithdrawalButton(){trDataWithdrawal.push(arguments)};
    trWithdrawalButton('config', {
        url: 'https://YOUR-INSTANCE.returns.cloud/withdrawal/YOUR-WIDGET-ID',
        lang: 'en',
        primaryColor: '#448EE4',
        selector: '[data-withdrawal-button]',
    });
</script>

<script src="https://cdn.test.returns.cloud/withdrawal-widget/js/widget.js" async defer></script>
Supported data attributes:
- data-fullname: Customer's name
- data-email: Email address for the receipt confirmation
- data-reference: Order or invoice number
- data-reason: Optional withdrawal reason
- data-withdrawal-button: Marker attribute used by the selector
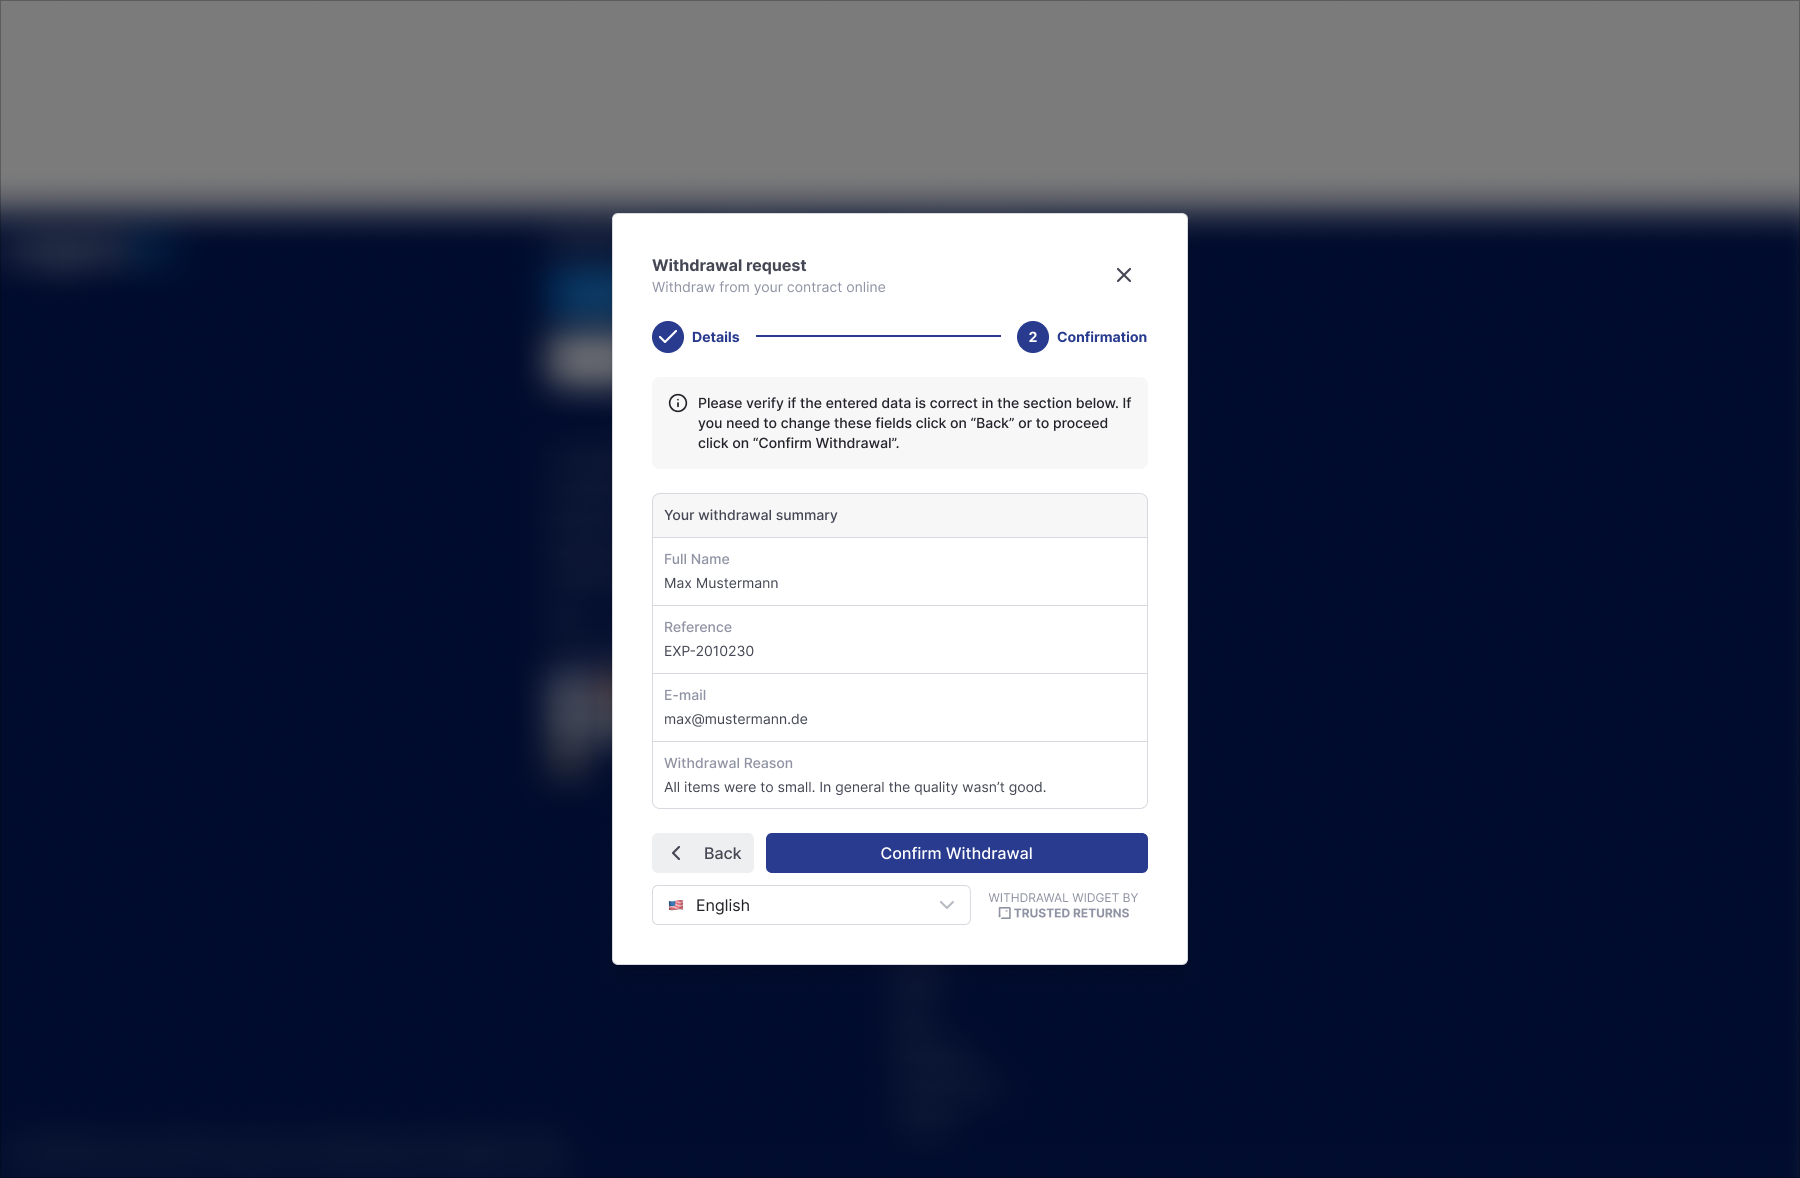
When data is passed this way, the widget can skip straight to step 2 (confirmation of the data), so the customer only has to review and confirm. The legal two-step procedure is preserved because the confirmation click remains mandatory.
Good to know
- One snippet per page is enough, even with many buttons (option 3).
- The flow always remains accessible without login and without prefilled data. Prefill is a convenience feature for the logged-in area, not a requirement.
- If the Withdrawal Management module is deactivated for your instance, embedded buttons show an unavailable state instead of silently doing nothing.
- Spam protection (rate limiting, plausibility checks) is applied server-side; no additional measures are needed in your shop.
Testing your integration
- Embed the snippet on a test page or staging environment.
- Click the button and complete the two steps with a known test order (reference and email must match an order in the system).
- Check the Management Portal: the case should appear under Withdrawal Cases with status "assigned".
- Repeat with a non-existing reference: the modal should announce a manual review and the case should appear in the manual queue with status "received".
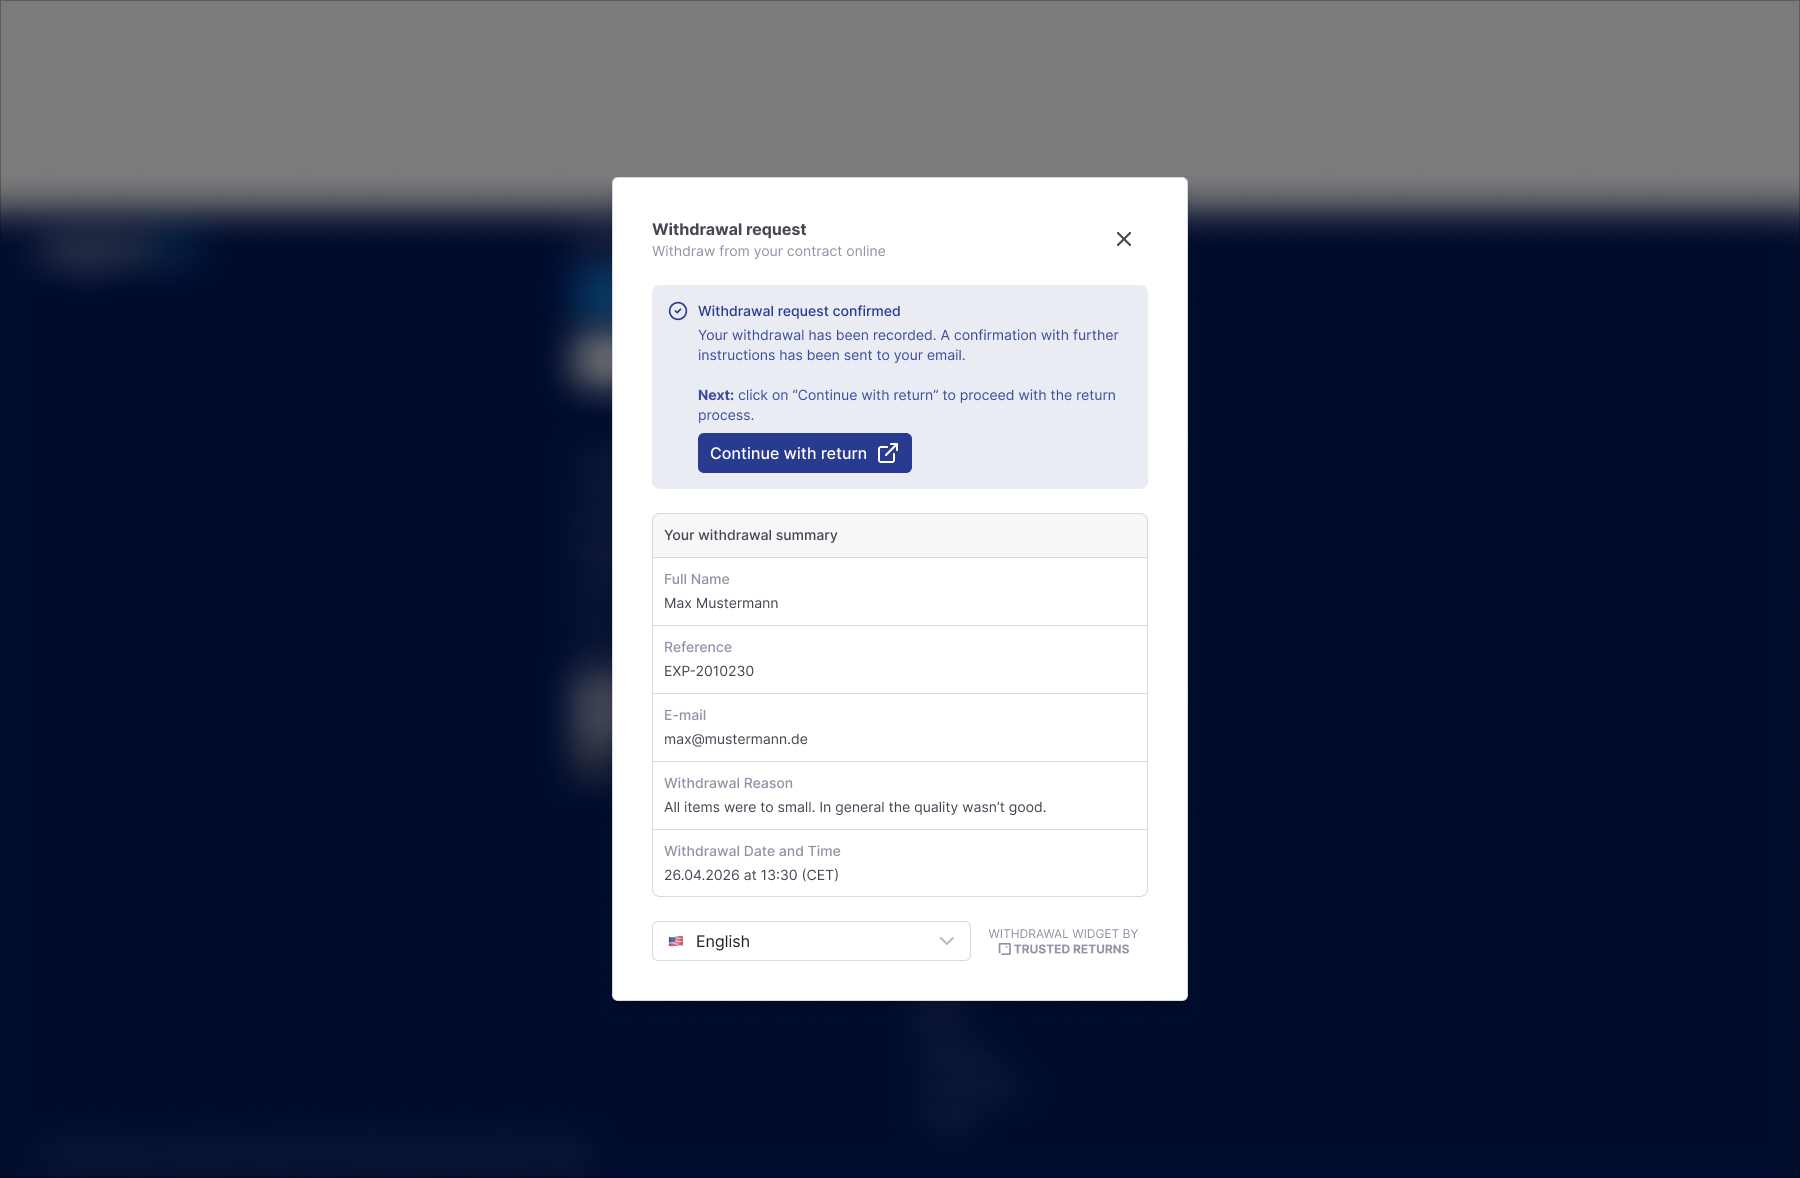
- Verify that the receipt confirmation email arrives and contains the declaration content plus date and time.
Note for deadline tests: Use a test order with existing delivery events, because the deadline check is based on the actual item-level delivery. For multi-parcel orders the period starts with the last delivered item, so an order with one undelivered parcel will not be auto-rejected as expired.
Next Steps
- Email Communication and Templates
- Processing Withdrawal Cases
- Self-Service Portal Handover
- Activity Log and Data Retention
- Reference: Configuration Parameters, Statuses and Rejection Reasons